You can upload a picture to lots of features and functions on Classlist. Your photos need to be in jpeg or png format and the maximum file size is 8mb. There is no pixel limit, however in some places the shape of the area where the image will be displayed is fixed, so your photo may be cropped to fit the display. This applies to images on events, and the school profile photo and logo.
Find and click the camera (or picture) icon on the place you want the photo to go. This is usually found on an existing image or a blank image area (eg on your profile), or underneath a text box where the icon is shown together with a prompt saying 'add photo' or 'change image' (eg on a post, or an event you are organising). On the desktop in private messages the camera icon is replaced by a picture icon, because you can only upload a photo from your files, but on the app you have both the camera and photo icon, because you can use the phone's camera to take a new photo. You will still be offered the choice of 'take a photo' or 'photo library' if you tap the picture icon on the app.
NB: if you or find your phone camera won't work on the app, try checking your phone settings: you need to have camera enabled on your phone's app settings to allow Classlist to use the camera.
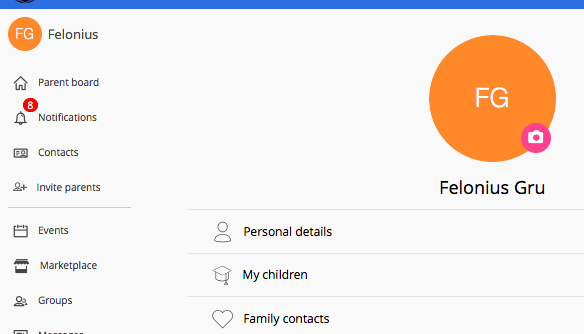
Tap the camera icon to upload a photo on your Profile:
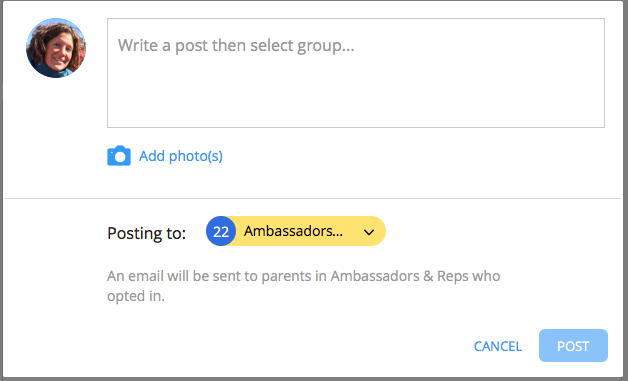
Tap the camera icon under the text box to add a photo to a group post. You can add multiple photos to a post; see section below:
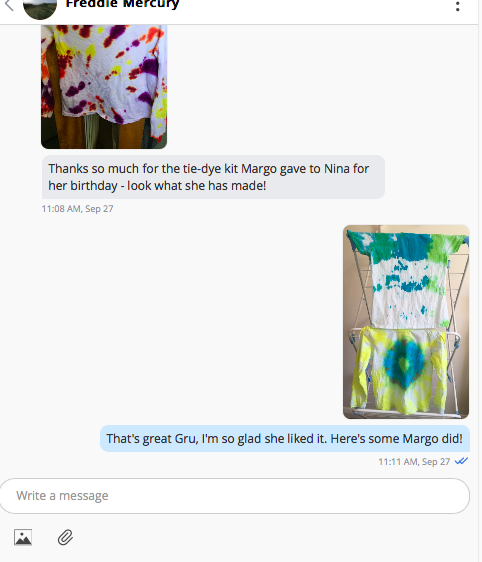
Tap on the picture (or camera on the app) icon under the message box to add an image to a private message. You can add a caption to a photo or write your text then add the photo after:
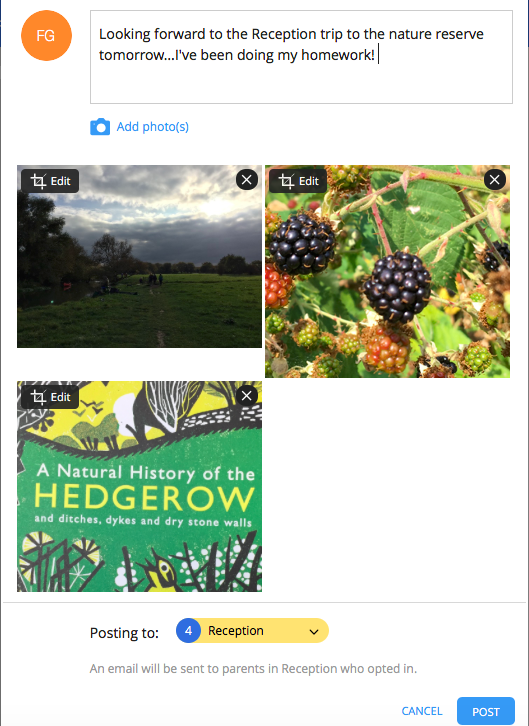
Uploading multiple photos to a post. On a post to a group or the whole school you can add several photos (maximum of 30). When you have written your post, just tap the camera icon in the usual way to select the photos you want to add. After uploading some you can repeat the action and click the camera icon to upload more. You can keep editing, adding or deleting photos until you tap on the post button. To edit or delete, tap on the top left or top right of the image respectively. The system will arrange your photos so that they look nice in the finished message, so don't worry too much about their relative size or order.
The image below left shows the photos uploaded in your post, the image on the right shows the finished message as received by other members:

Drag and drop, upload or take a photo. You can drag a photo from your computer, or upload one from a file. If you are on a mobile device you will also be prompted to take a photo if you wish. You will now see your picture uploaded. Remember to be sensitive about photos with other people's children: some parents do not want images of their children to be shared, even on a private network.
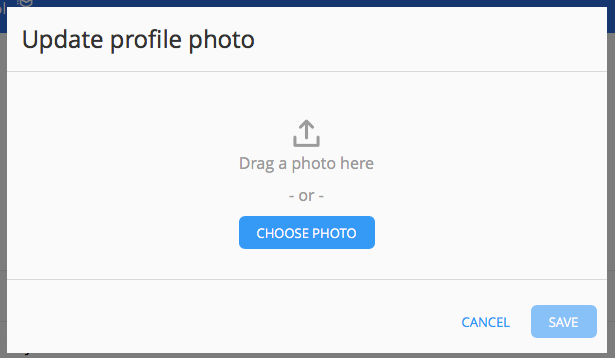
Crop and zoom your photo. On your profile and posts you can crop/rotate/zoom your photo, letting you select the correct part of the picture. You can't edit photos uploaded to private messages.
Click Save. Once you click Save or Post your picture will be uploaded.
NB: You can't share or print a photo from Classlist. This is because your site is private for members only and therefore content cannot be shared externally. If you would like a copy of a photo you could always message the person who posted it and ask if they can give it to you outside your Classlist site.
iOS 11 and accessing photos
Q: Why does the Classlist iOS app not ask for permission to access my photos?
A: In iOS 11 Apple introduced a new image picker which means apps don’t need access to your whole image library to upload a photo. Instead when a user chooses an image to upload to an app, the image picker transports the selected image alone and delivers it to the app. The app has no need to ask the user for permission because it is not accessing the user’s data.

Comments
0 comments
Article is closed for comments.